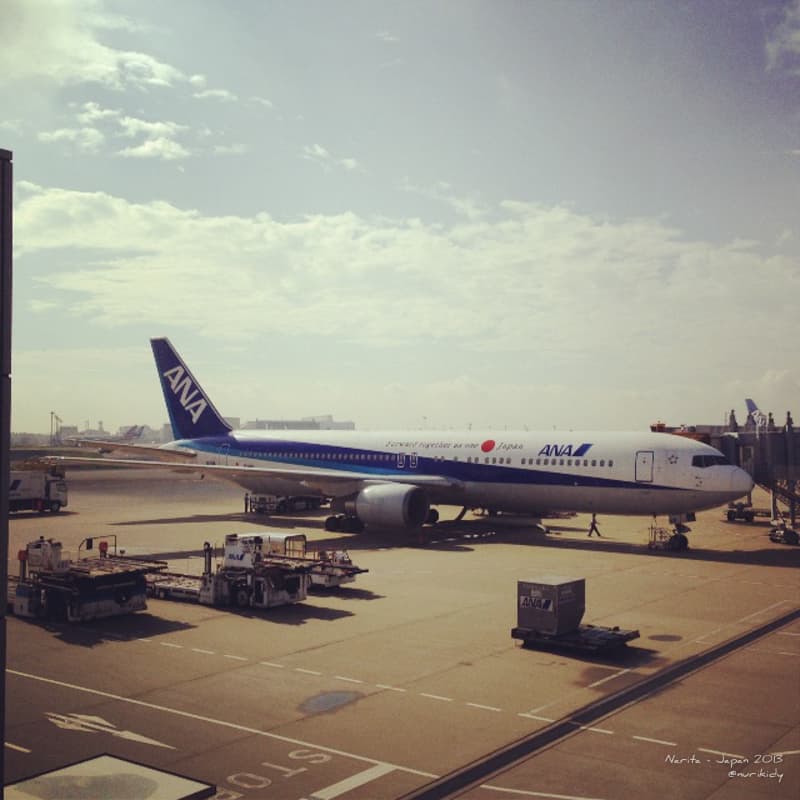
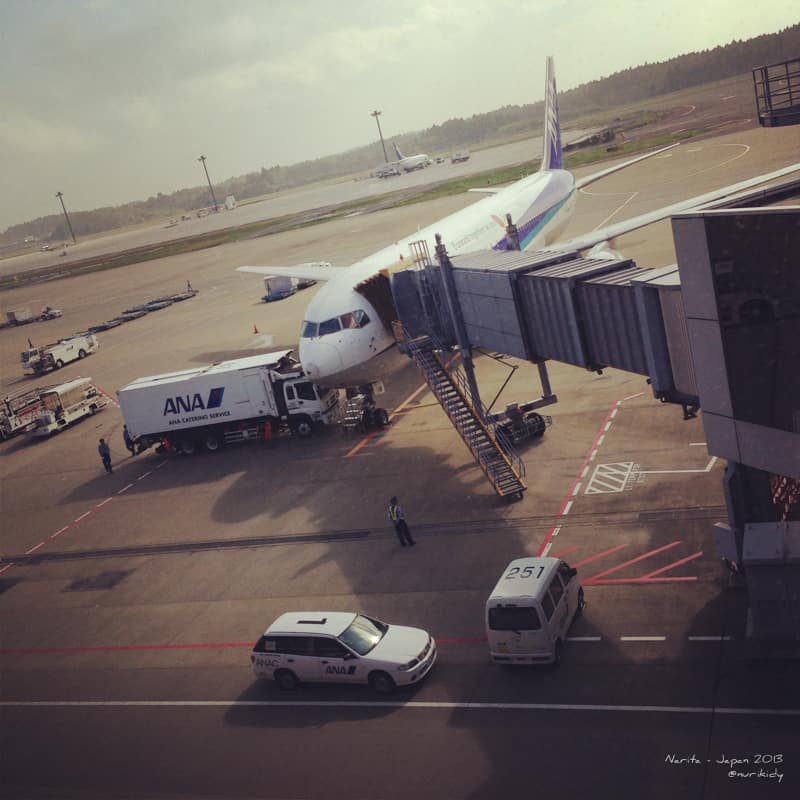
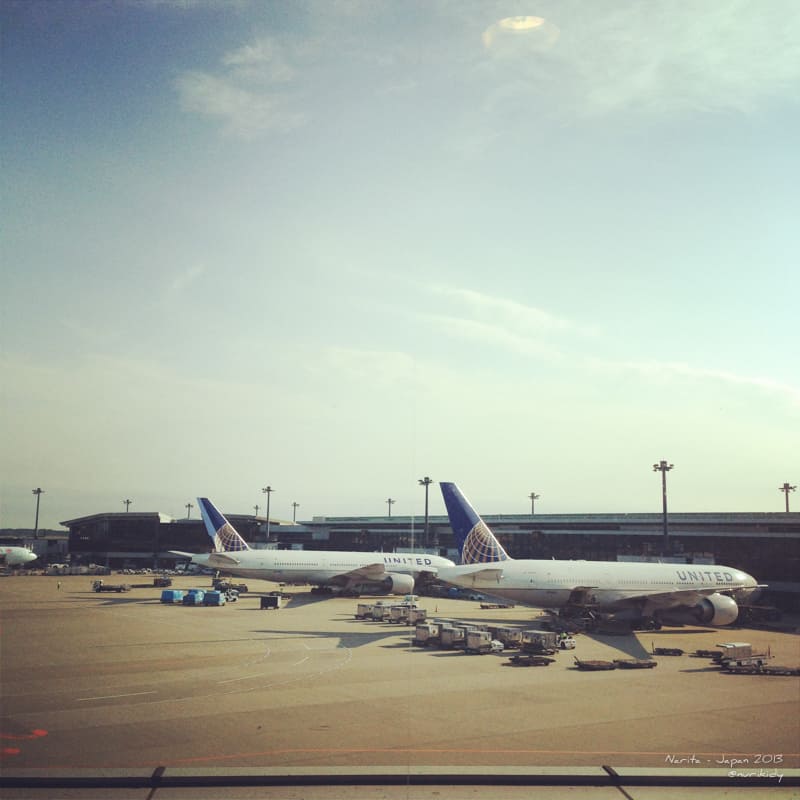
After spent about 8 hours flight from Singapore, I still had 8 hours layover at Narita International Airport waiting for the next flight to San Jose, USA. So, I did a small research before about Narita City (going to Tokyo was never be in my plan). I love history, things that are old, ancient, vintage. Therefore, I prefer to go to places that still have relics of ancient history, especially before the end of the renaissance.
Ok, what would Narita offer to us?
Well we have plenty of choices actually regarding to what some people say that there’s “nothing” around Narita City. From Narita-san Shinsh?-ji temple to Sawara Town also known as “Little Edo”. Due to my time calculation and try to be rational, I decided to visit only Narita-san Shinsh?-ji.
-

-
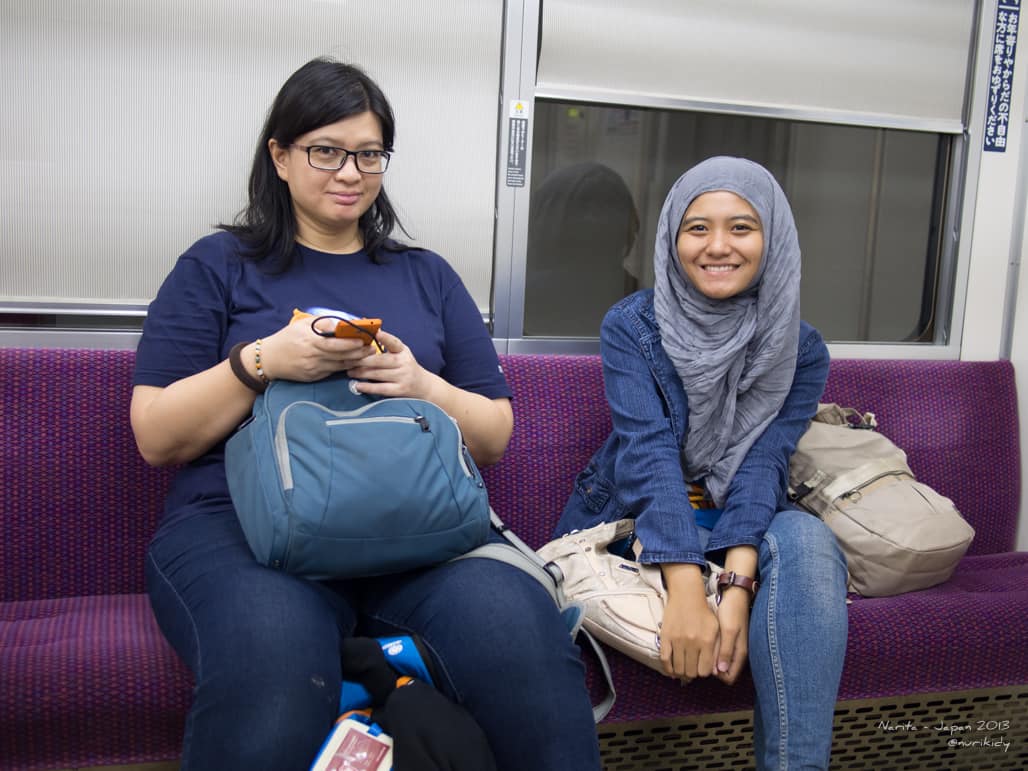
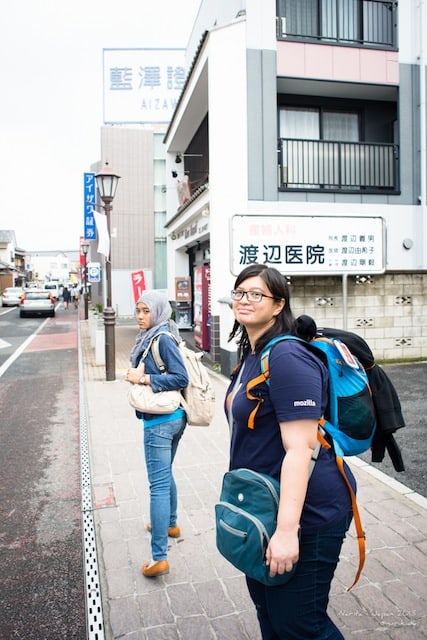
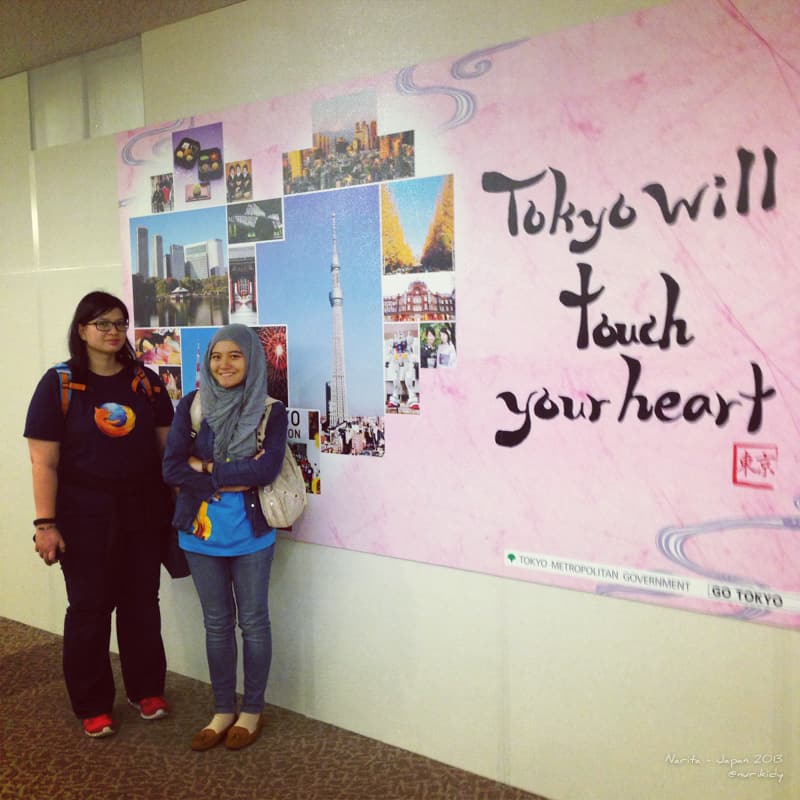
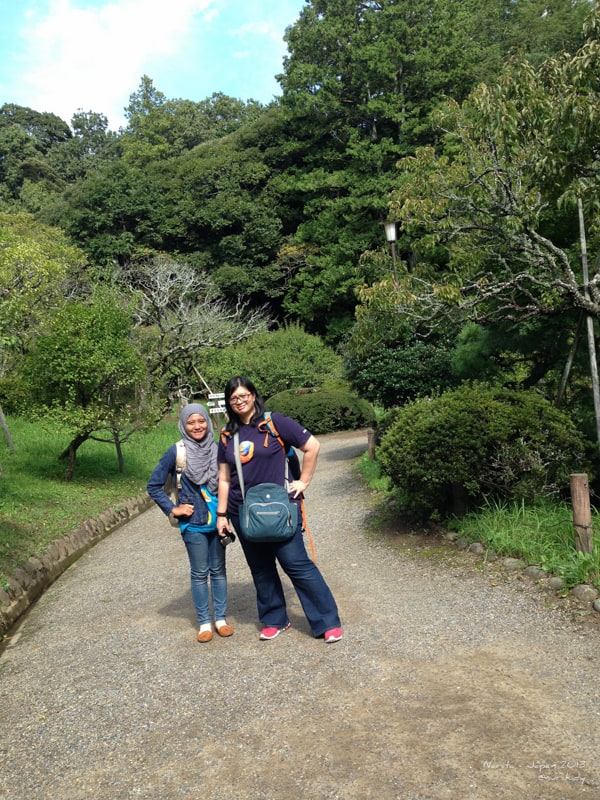
@rara79 & @eriskatp at JR Narita
-

-
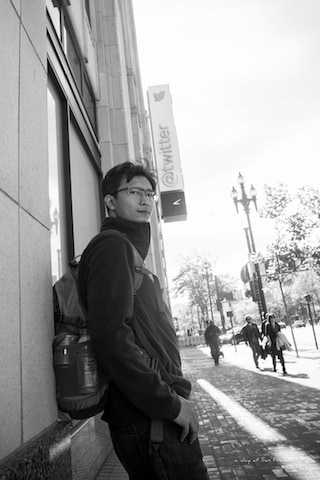
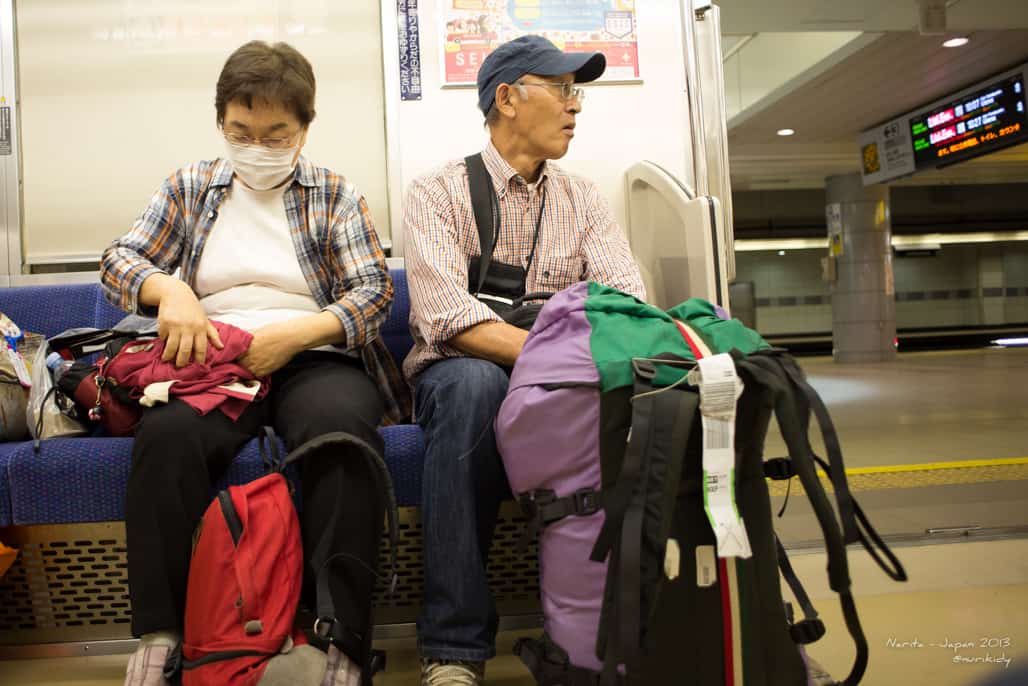
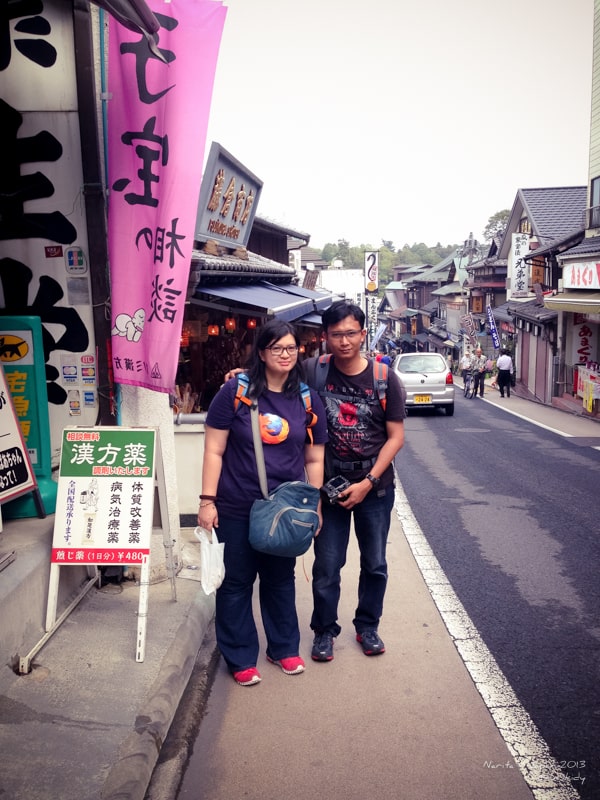
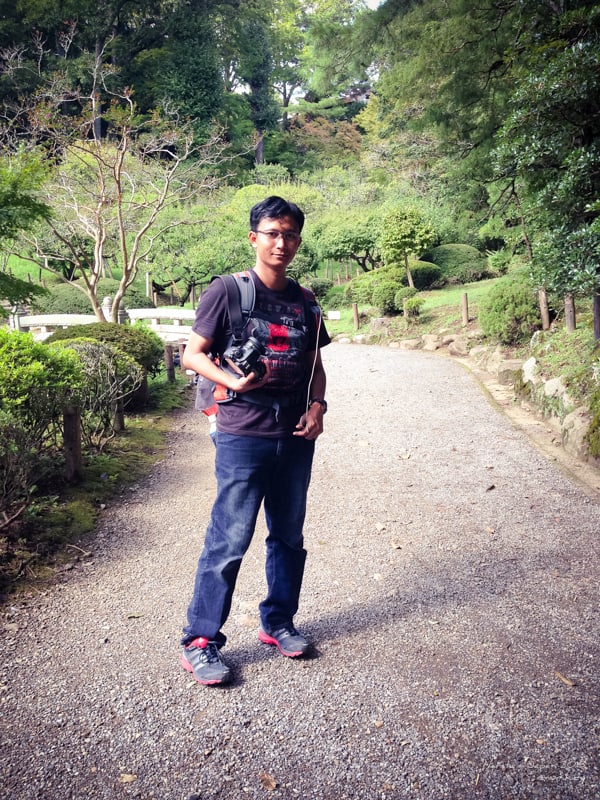
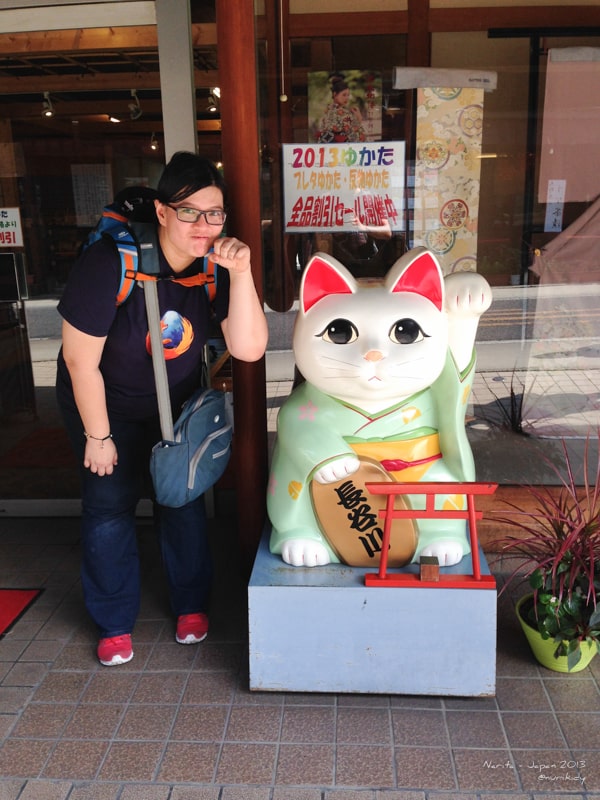
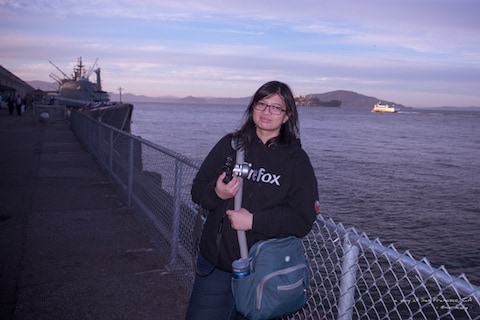
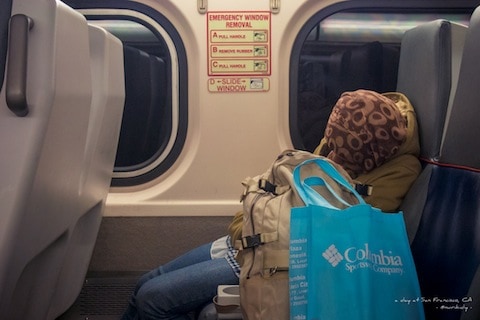
backpacker 🙂
-

-
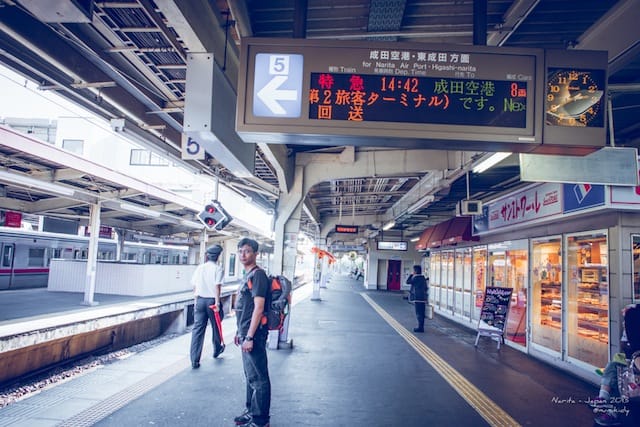
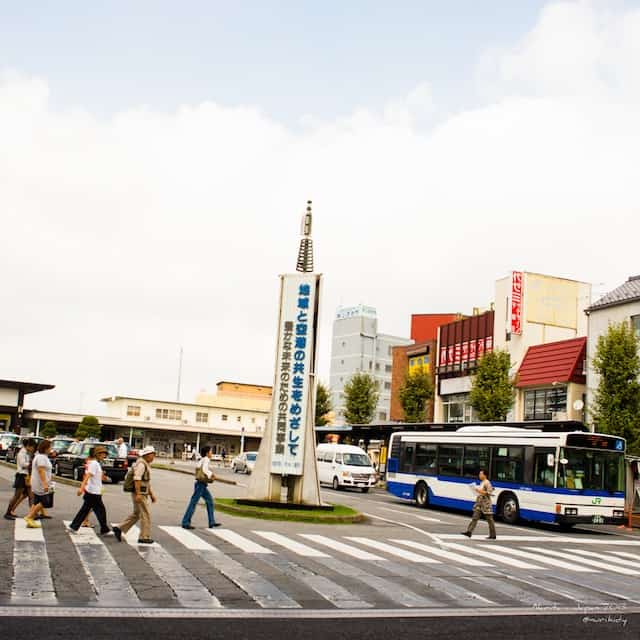
JR Narita Station
-

-
Pink Bus that will take you to the mall 😛
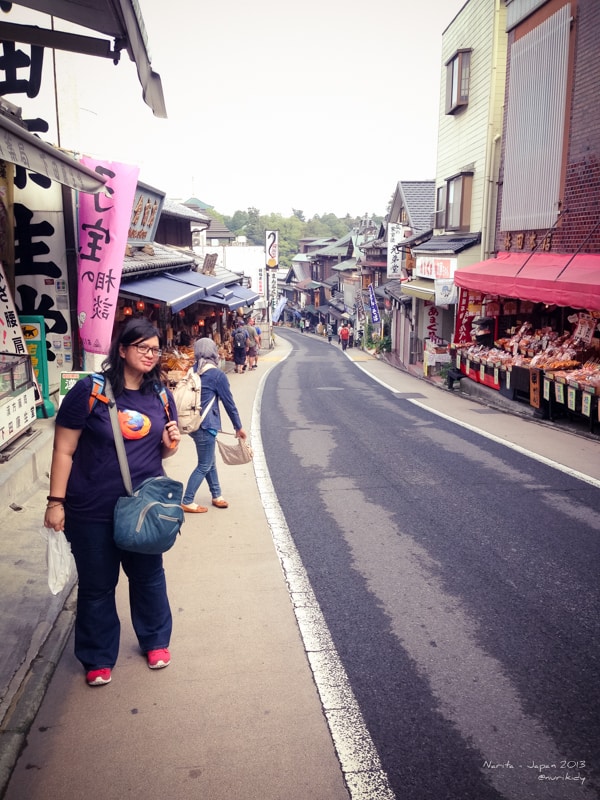
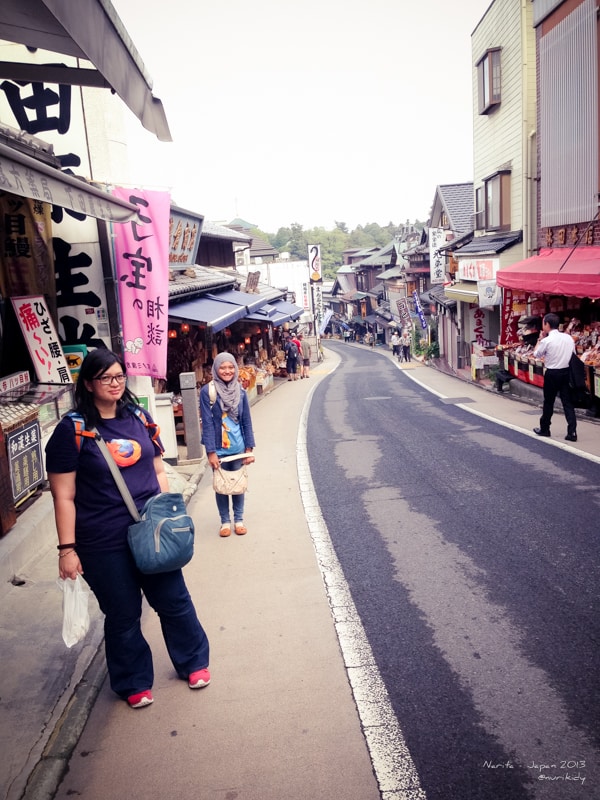
It’s very easy to go there from Narita Airport. You need only JPY 250 one way/person to take JR Narita train + 15 to 20 minute walk from JR Narita or Keisei Narita Stations. This is a tricky part because it could take more than 30 minutes to reach the temple gate. It it so far away?
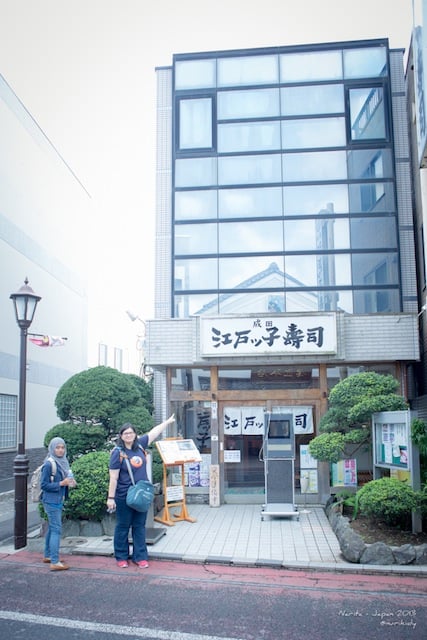
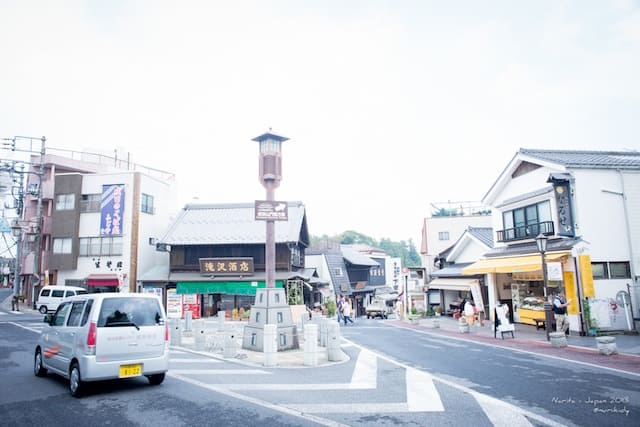
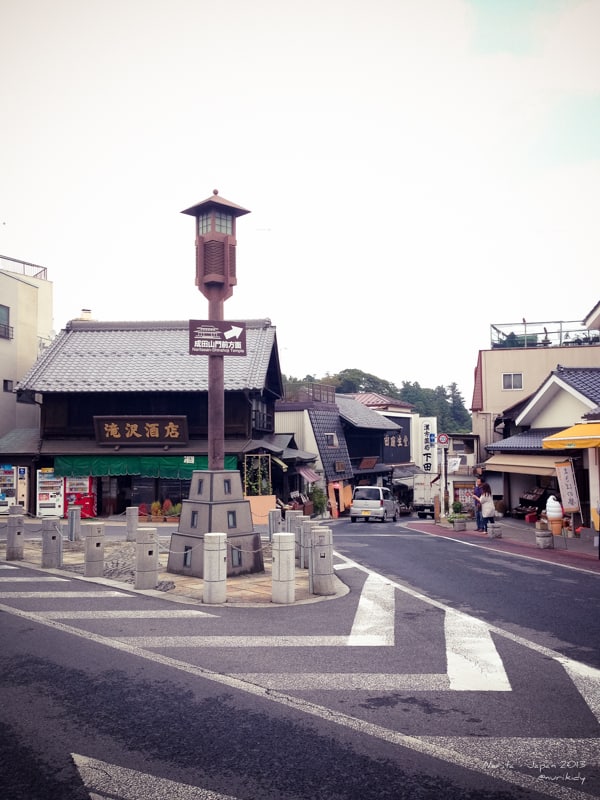
Don’t get we wrong. It’s only 800m straight to the temple. In fact, because you’re enjoying the walk so much that could make you lost time.
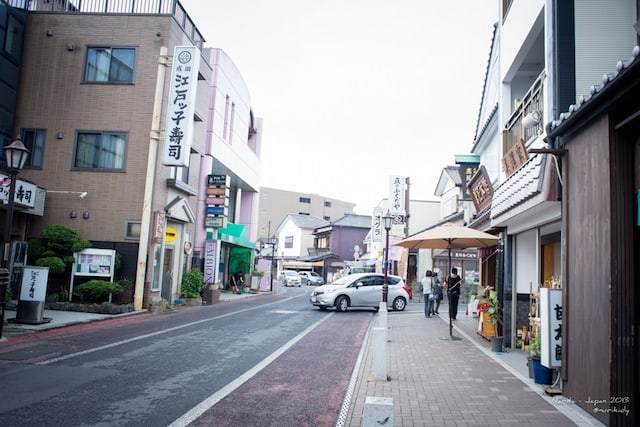
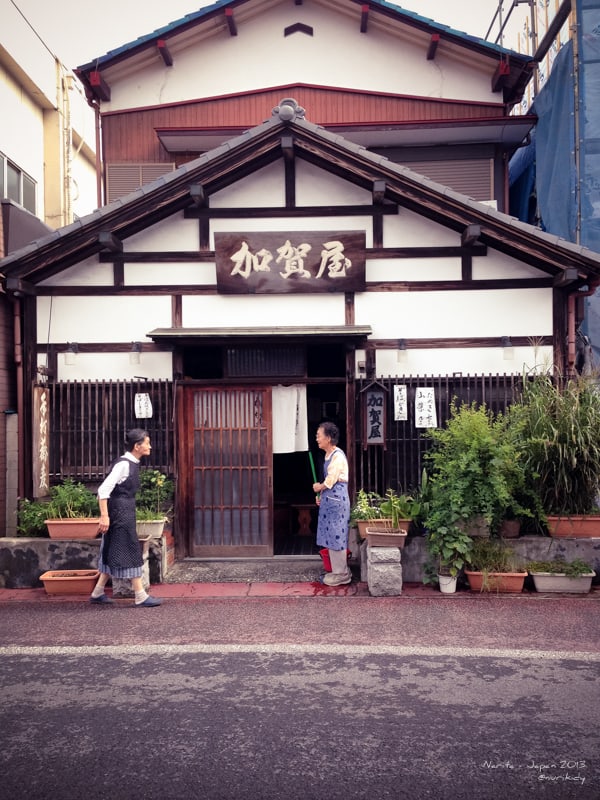
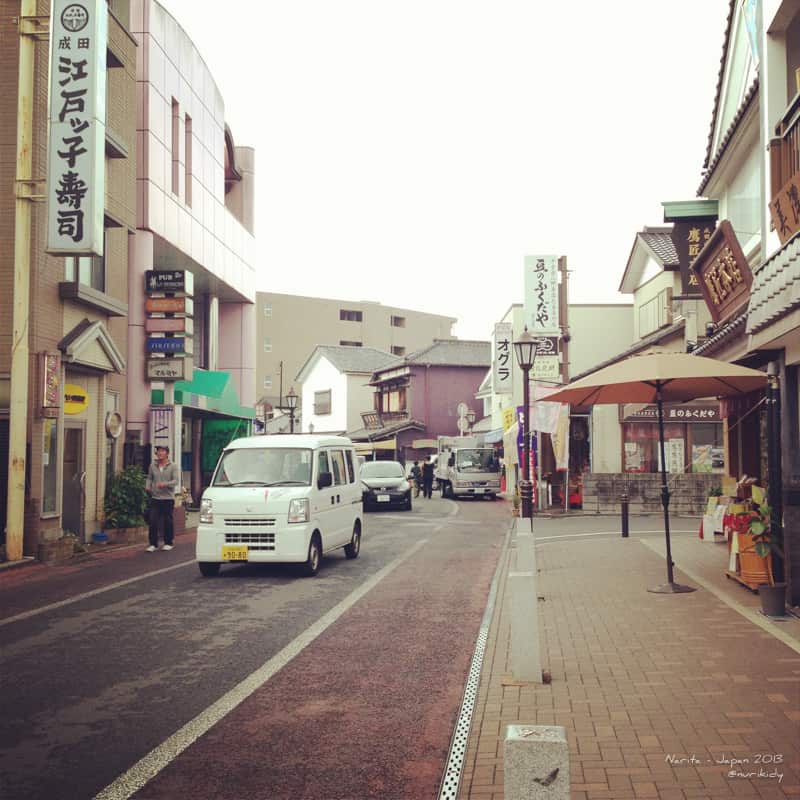
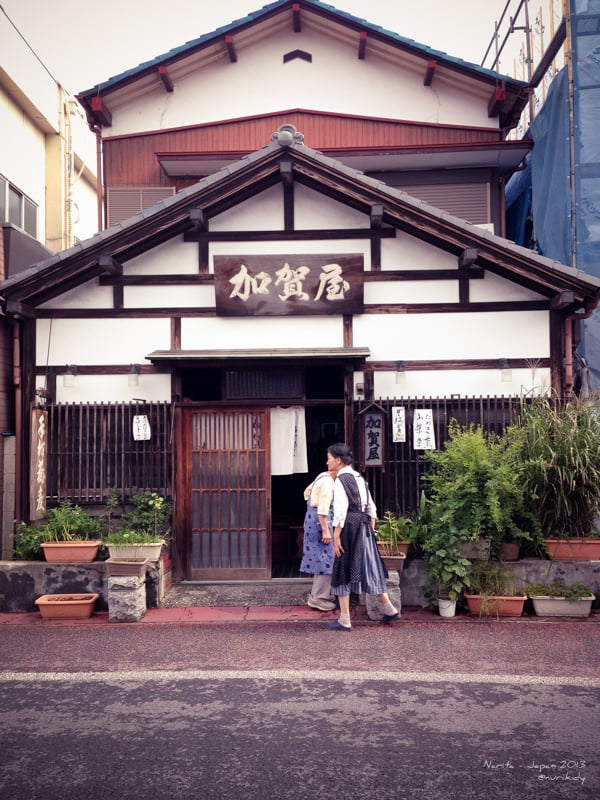
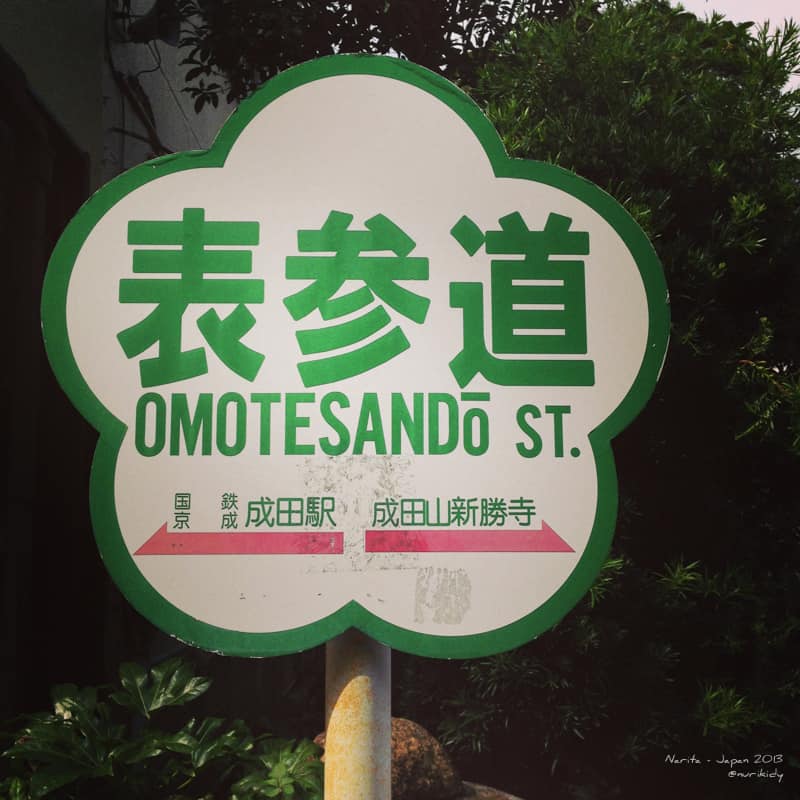
The road to Narita-san Shinsh?-ji is known as Omotesando. But at the both side of the road there are numerous shops, restaurant, inns. From what i’ve read, it’s there for more than 300 years.
-

-

-

-

-

-
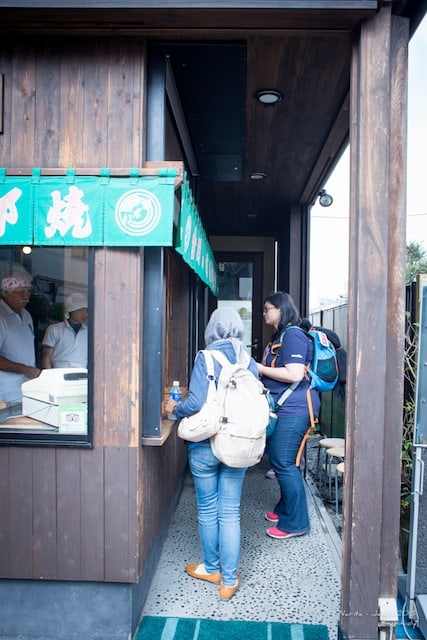
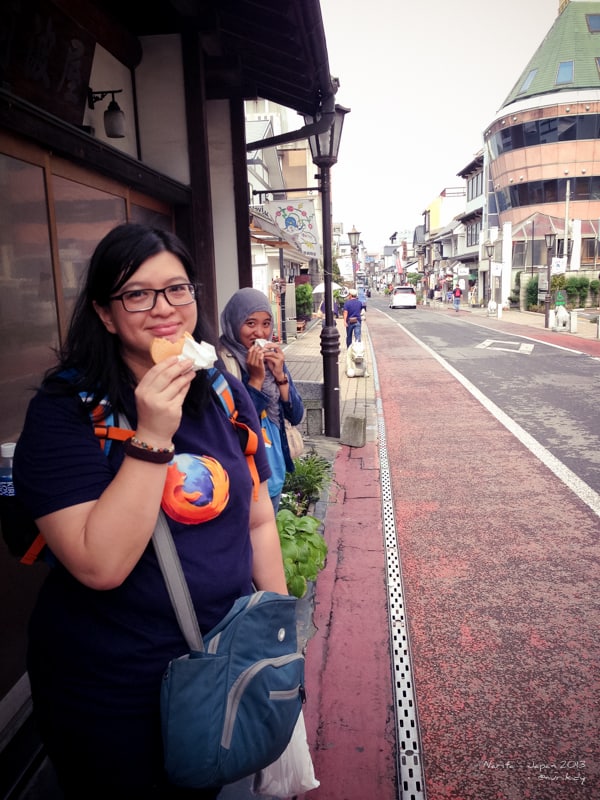
this dorayaki shop is quite popular among traveller
-

-
it has TripAdvisor certified sticker
-

-

-

-

-

-

-

-

-

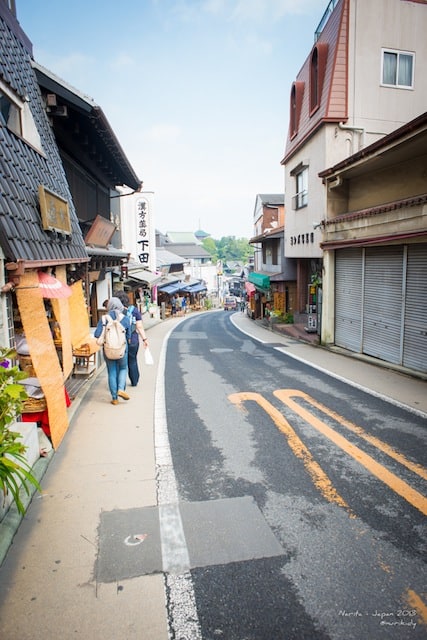
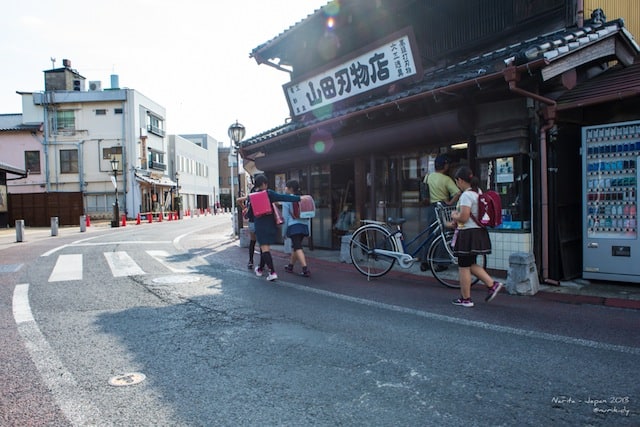
Too bad we’re there at 9am. Most of the shops/restaurant still close or the owners are preparing the shops to be opened. I wonder if I was there at 3pm upward, weather getting cooler (it was hot), lamps are turned on, and people wearing kimono greeting their customer. I could imagine my self being in the era described inside Eiji Yoshikawa’s books 🙂 There are so much to tell, better you go there your self 😛 I want to go there again.
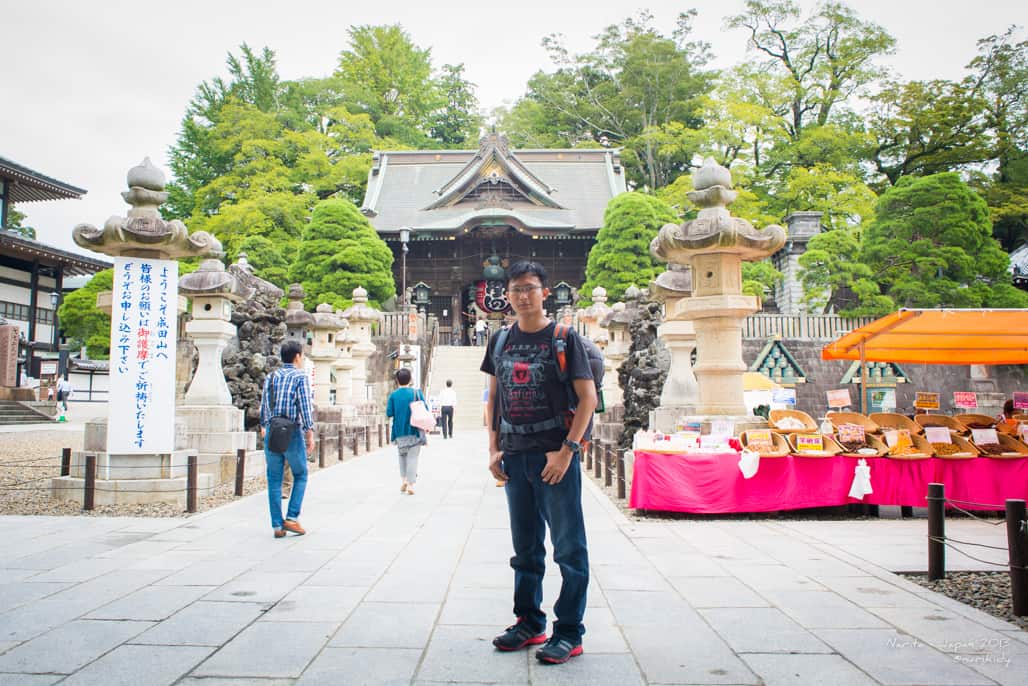
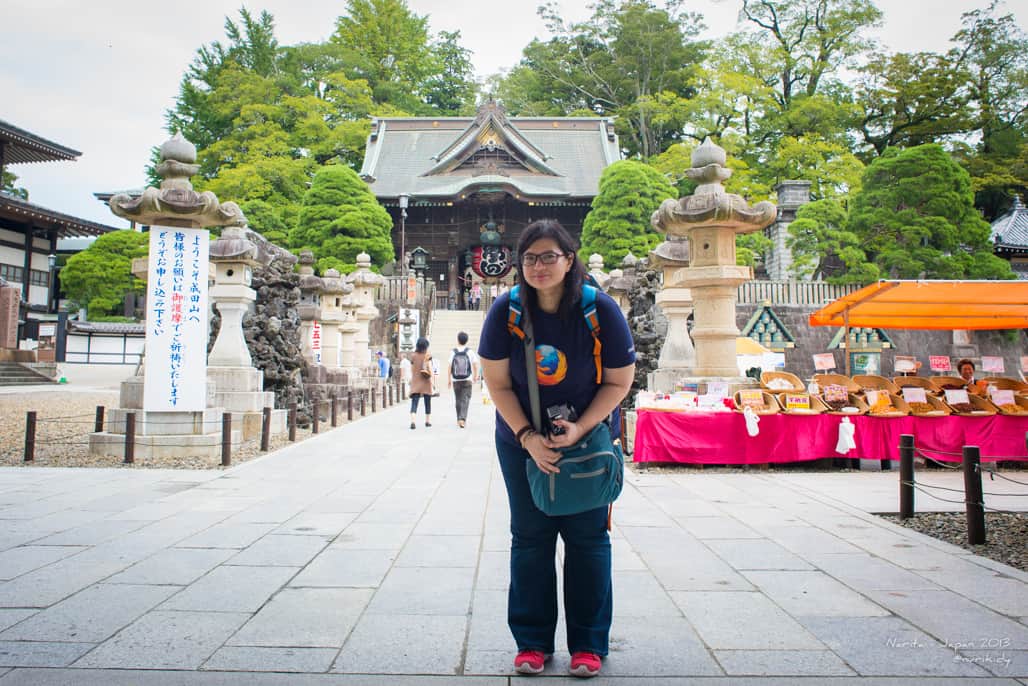
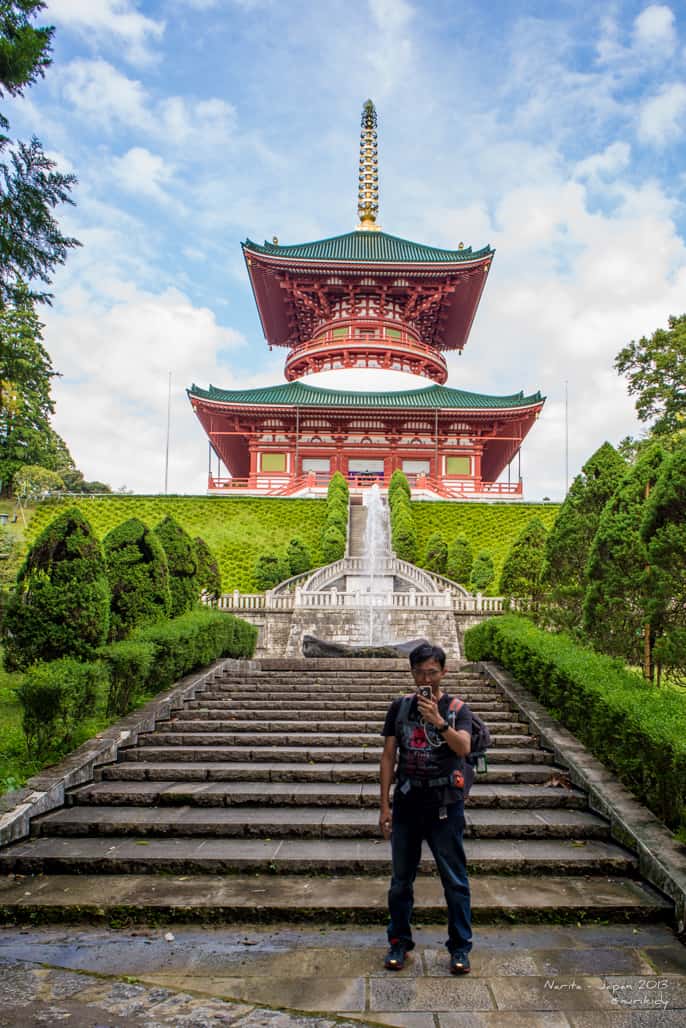
So here we are at the “main course” 😛
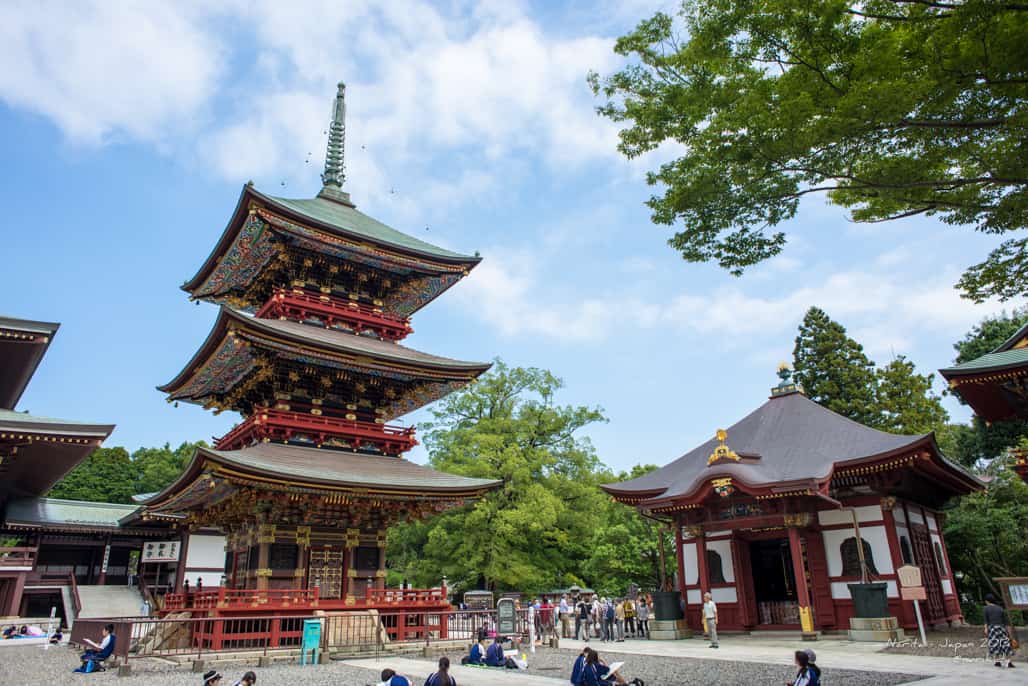
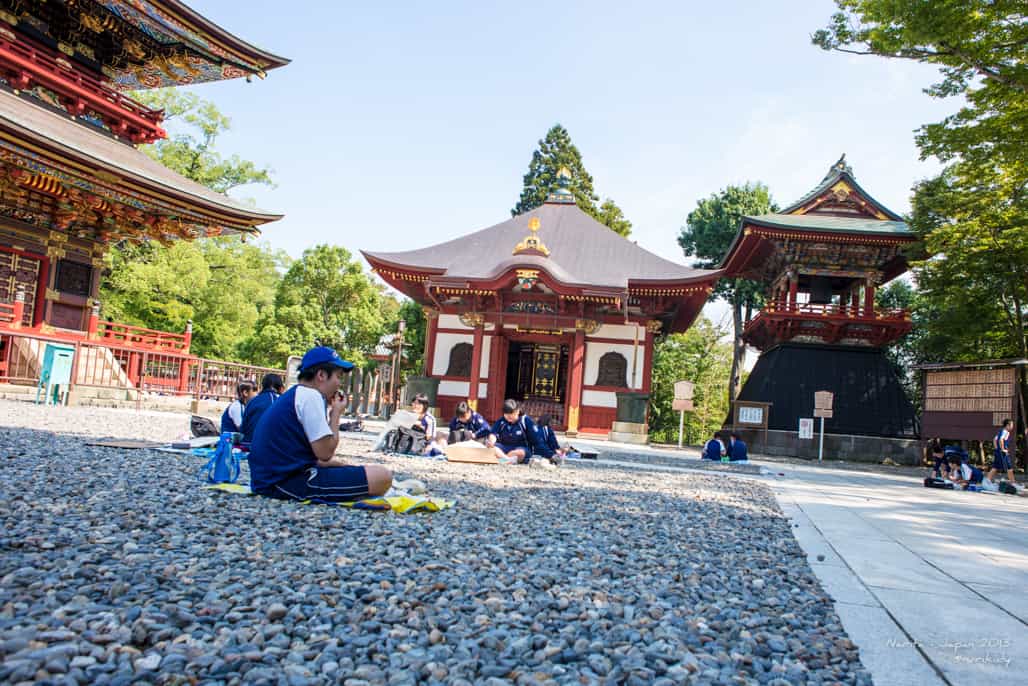
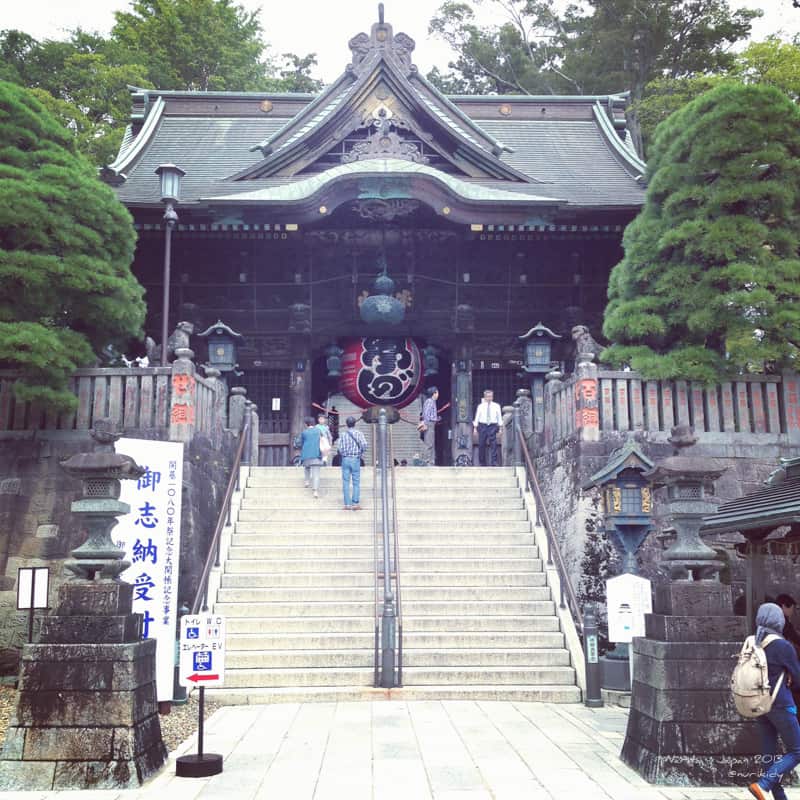
Narita-san Shinsh?-ji is a Shingon Buddhist temple located in central Narita, Chiba, Japan. And It’s BIG!!
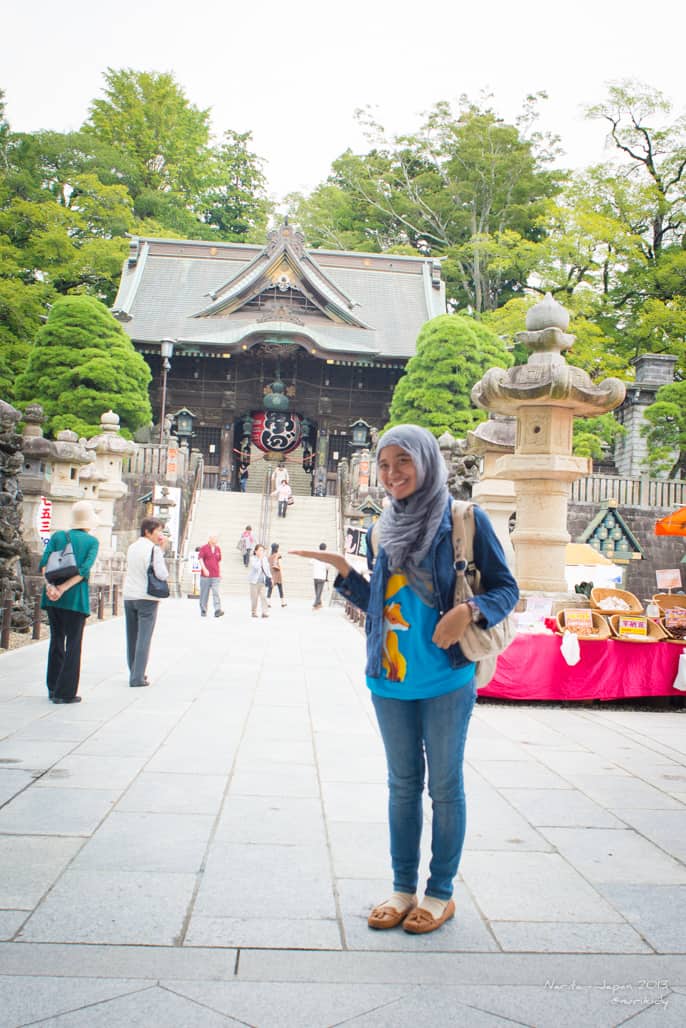
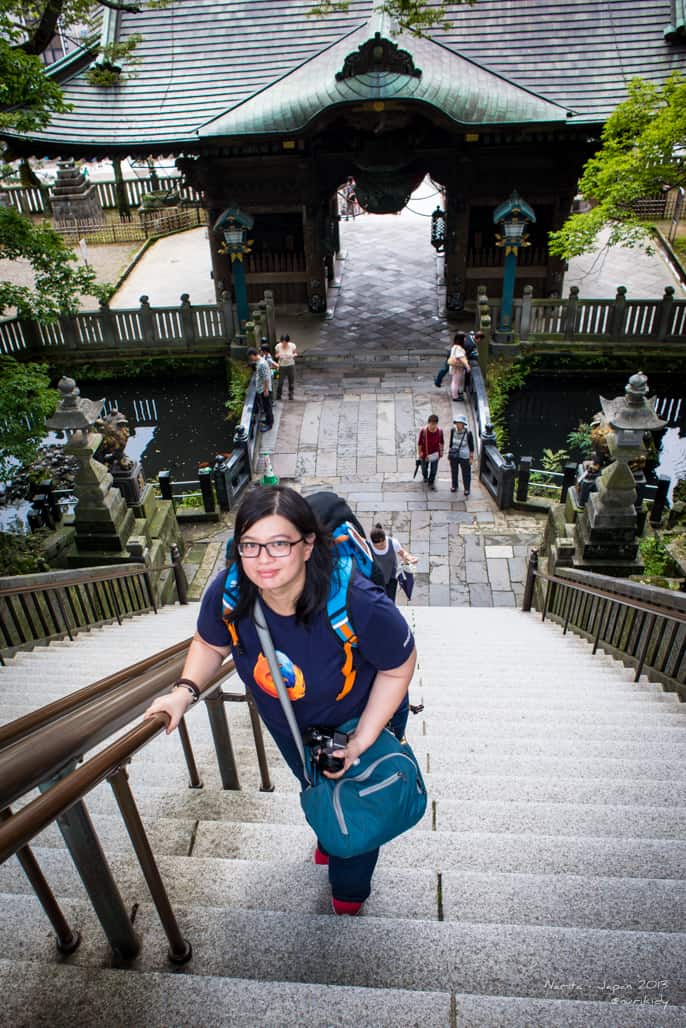
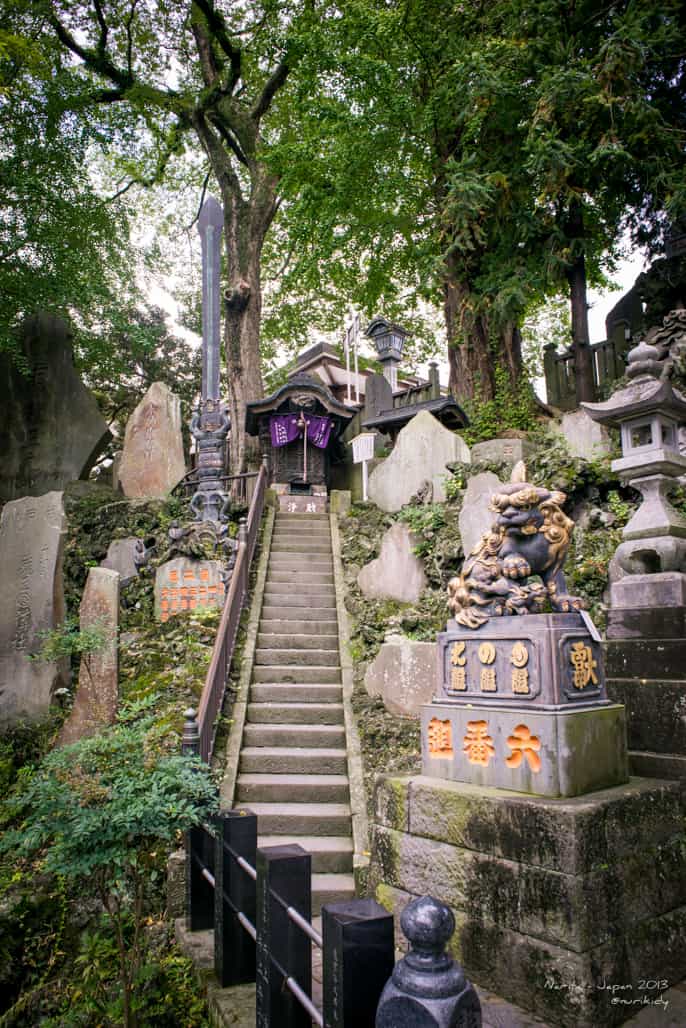
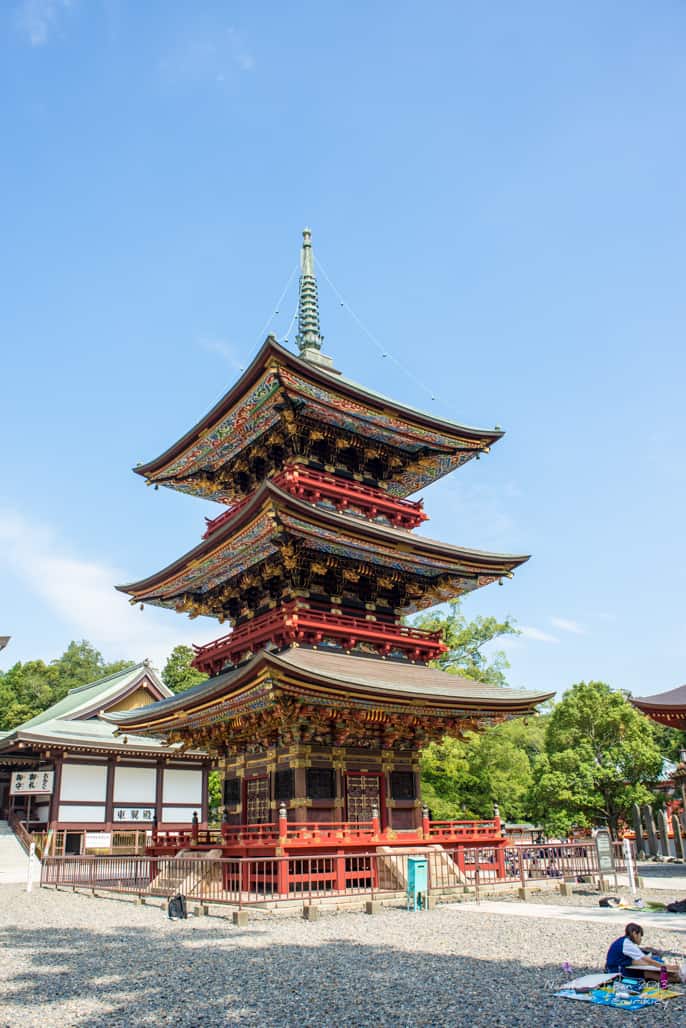
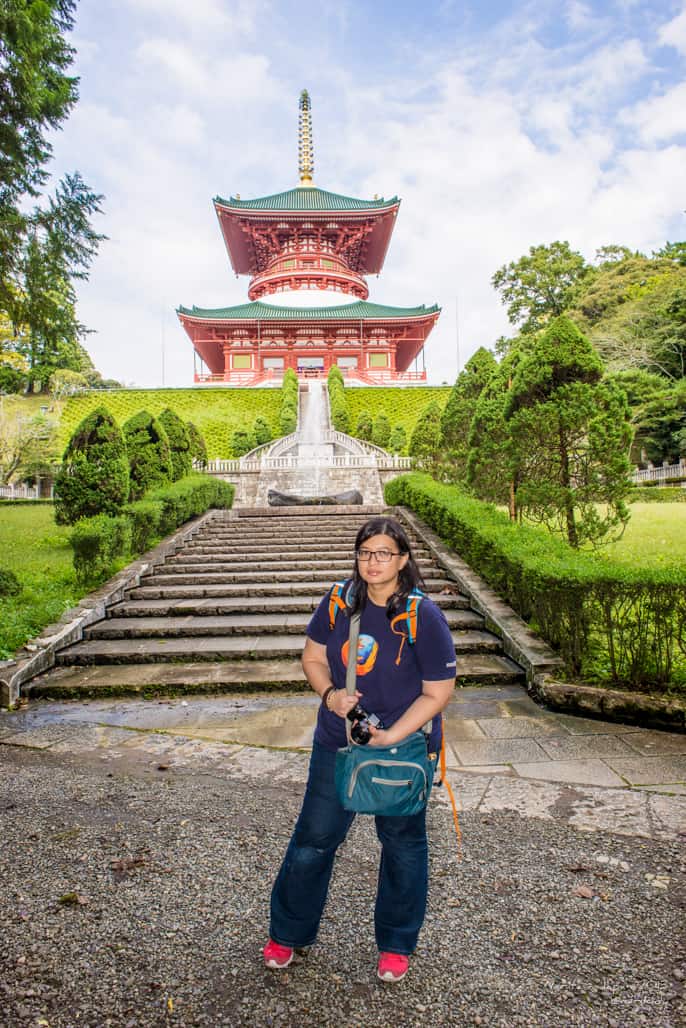
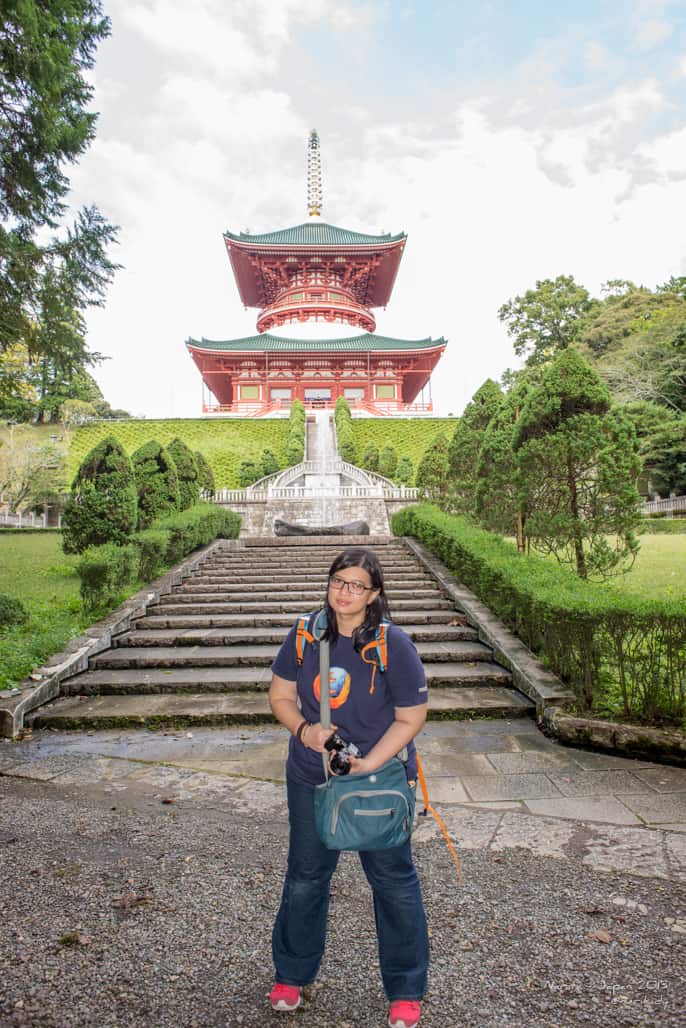
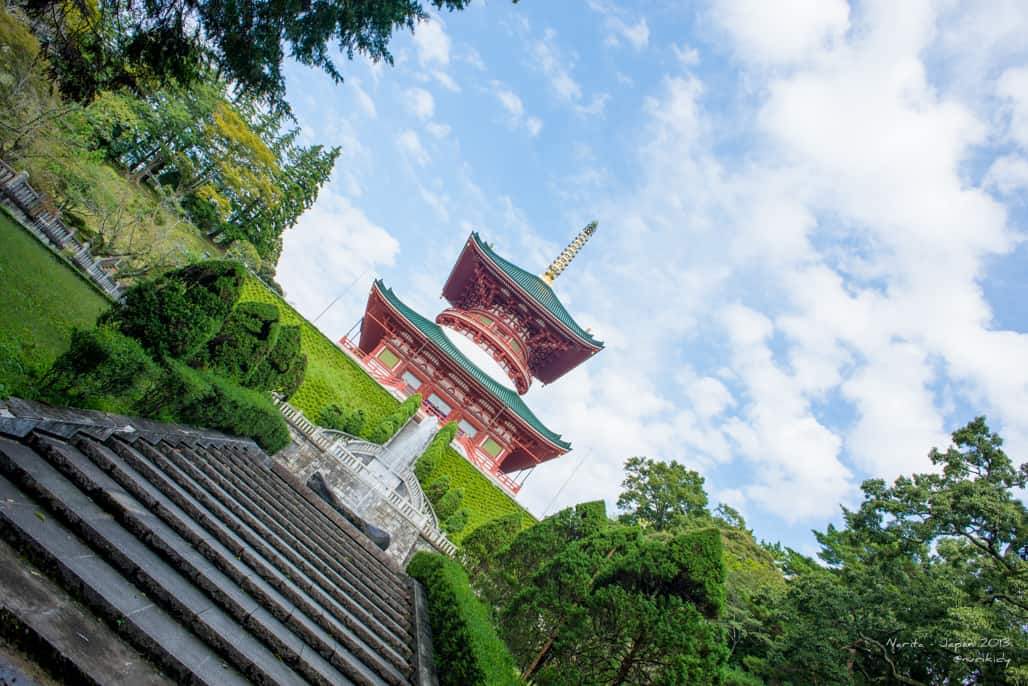
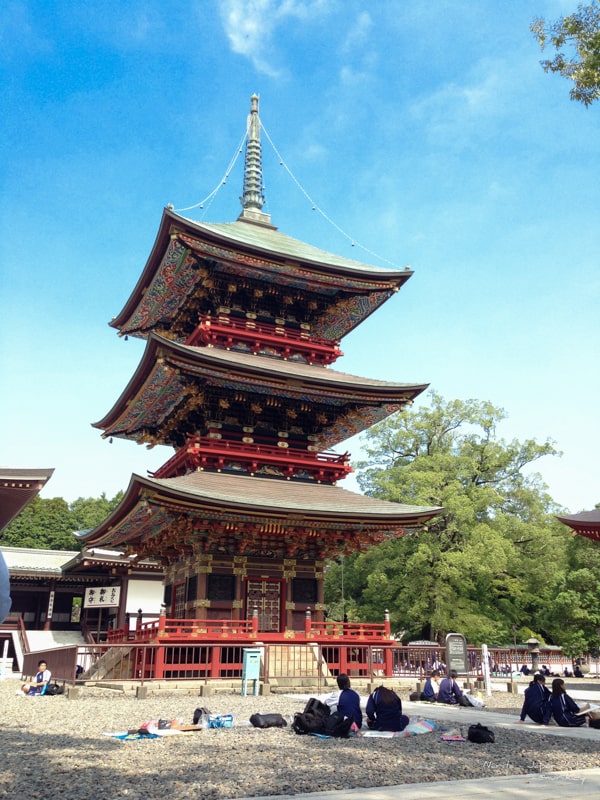
Temple in Japan usually is a complex contains several buildings. Well not to mention it also has garden, pagodas, a small forest i could say. At some place you have to walk through stairs and it’s pretty high.
It was founded in 940 by Kanch? Daisojo, a disciple of Kobo Daishi. The temple became importance starting in the Edo Period (1603 – 1867), when it gained the patronage of the Tokugawa Shogunate. I recommend you to read book “Taiko” by Eiji Yoshikawa. You’ll see a piece of Japanese ancient history that is worth to be studied later on.
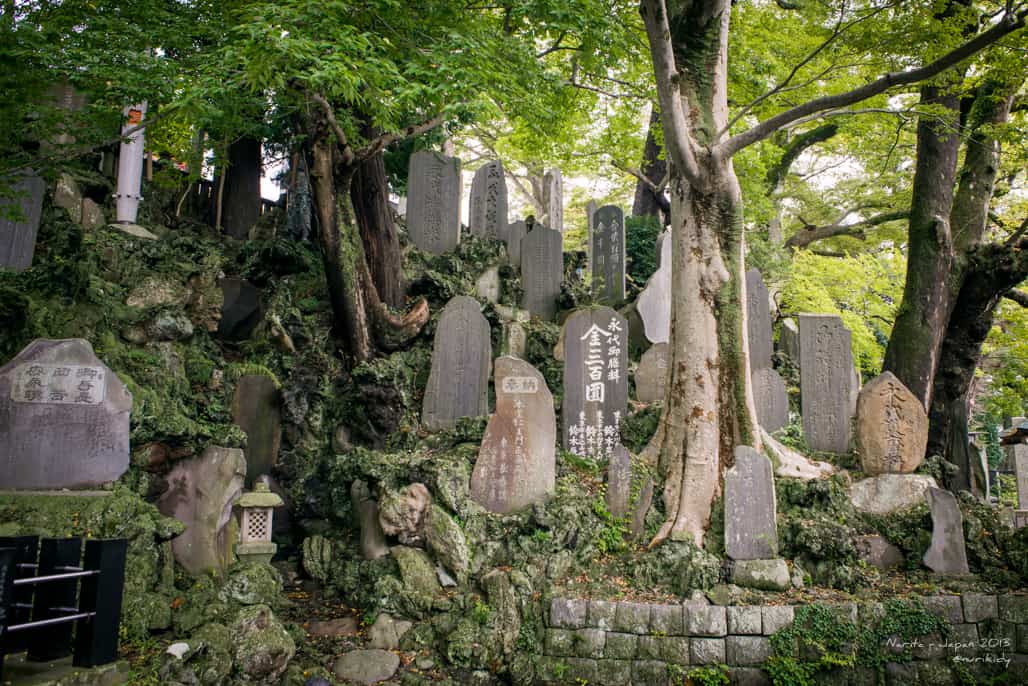
You see, the temple is more than 1000 years old. It’s amazing, and what amazed me more is that it still there in one piece (well, IMO). The Japanese did a very great job for keeping this heritage like it is today. It’s like an upside down when I look back to my country. There’s no much left…
-

-
at the main gate
-

-

-

-

-

-
see? it’s high
-

-

-

-
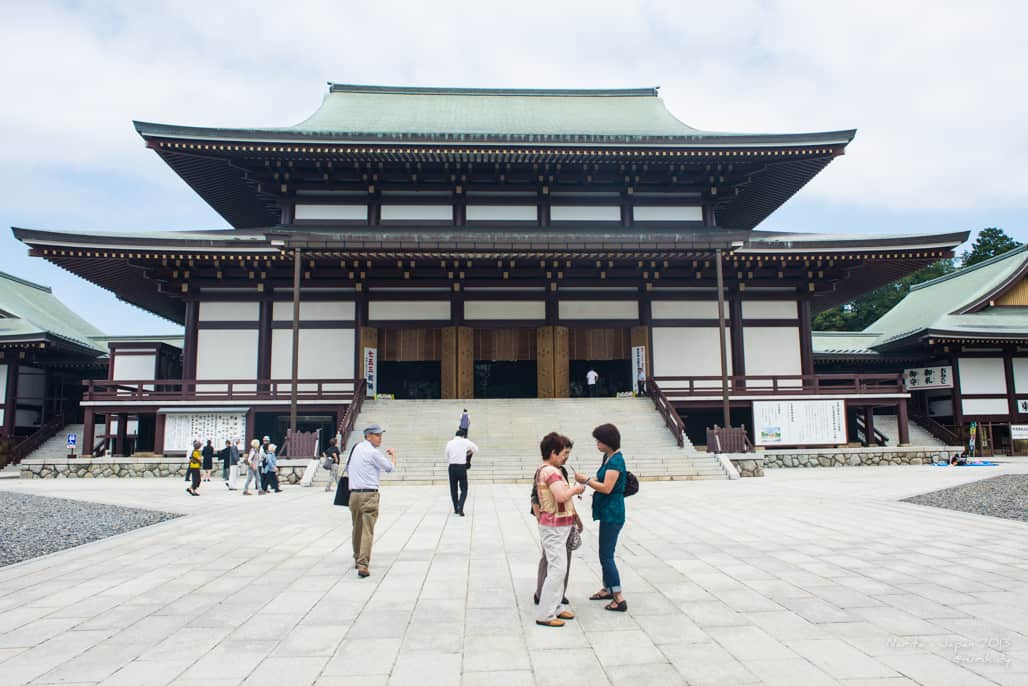
The Great Hall
-

-

-

-

-

-
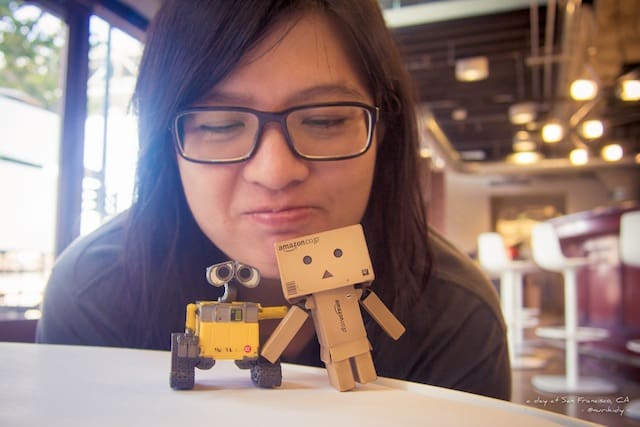
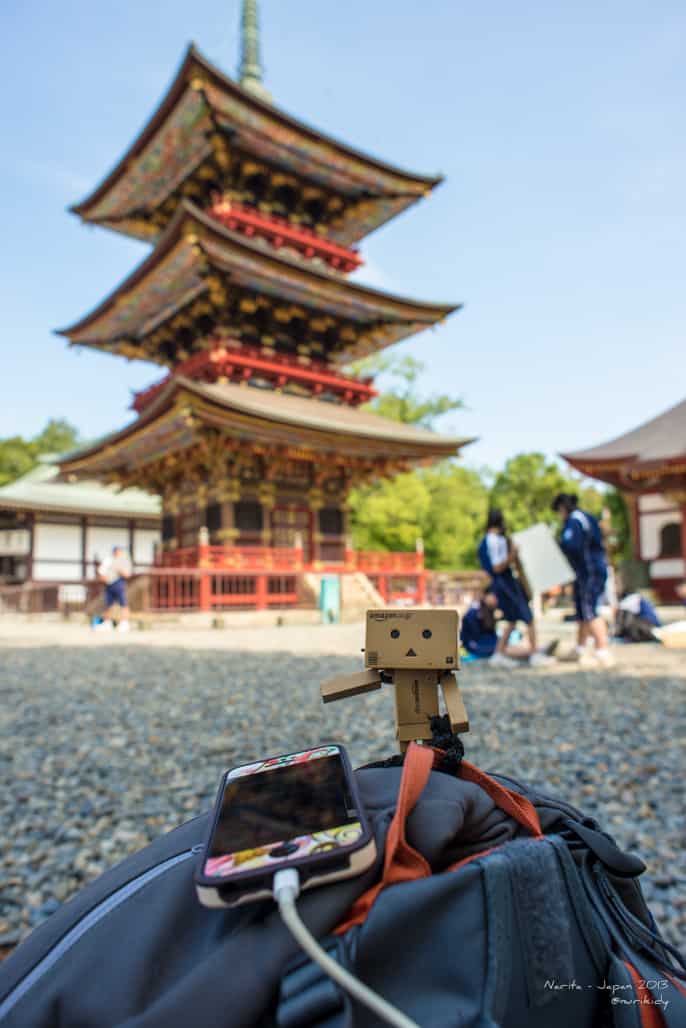
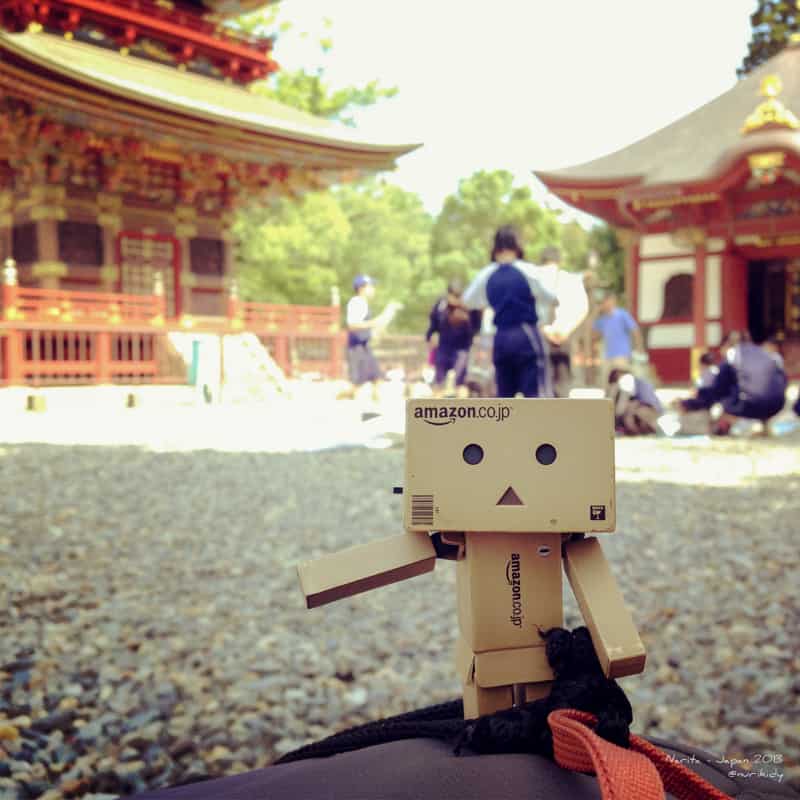
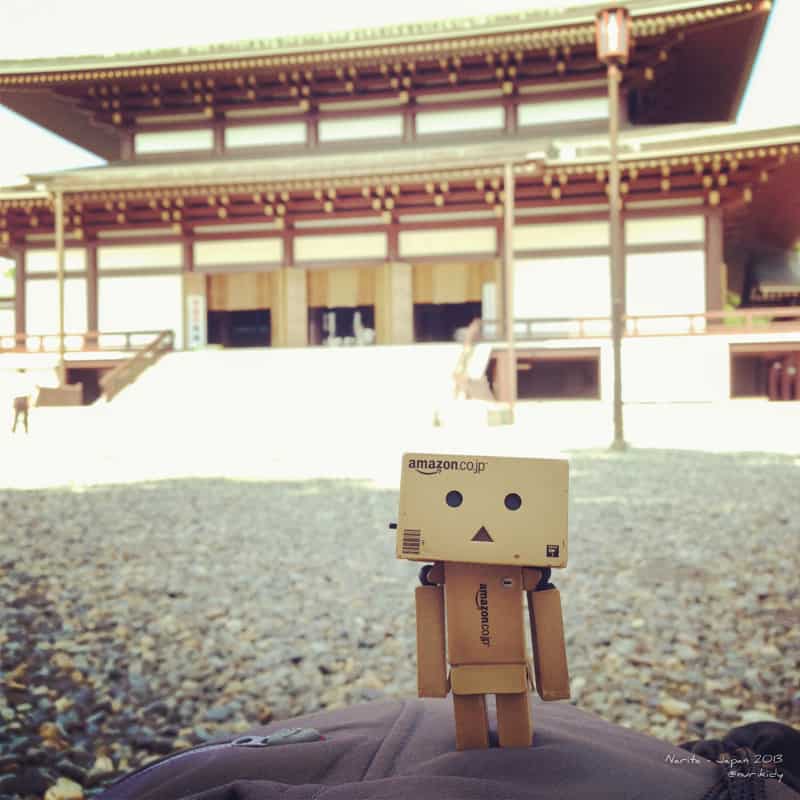
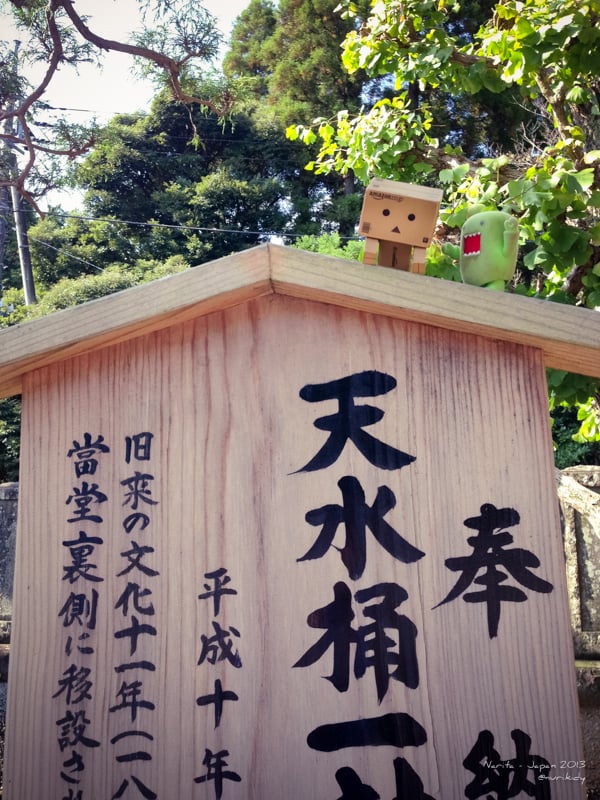
danbo at home!!!
Narita-san is one of Japan’s most popular destinations during New Year’s Day. And why is that? Umm, japanese has different way to celebrate new year (that 1st january new year). They usually stay at home with the family, eating traditional food and other activities. After that they had hatsumode, the first shrine to visit of the new year. Narita-san is one of the destination for that even from long back then in the Edo era.
At that days, people will walk about 64km from Edo to visit temple at Narita. To nourish the tired pilgrims, many unagi, or grilled eel, shops were opened. And you’ll still see many “eel restaurant” down the Omotesando Road. Don’t worry @belutz, you’re safe bro 🙂
I could’t wait for March 2014, I’ll be at Osaka-Kyoto-Nara-Kobe. The Old Japan, meanings more temples, more castles.
As usual, you can view more photos at my flickr or facebook account.
Subeteda ne, domo arigatou gozaimashita
note: some photos from my iPhone


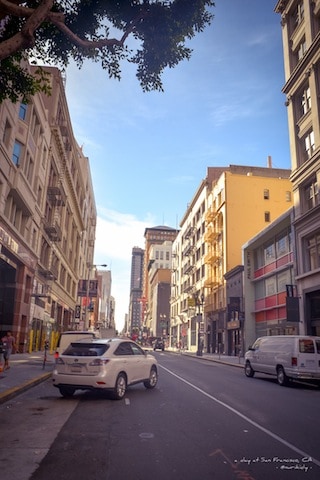


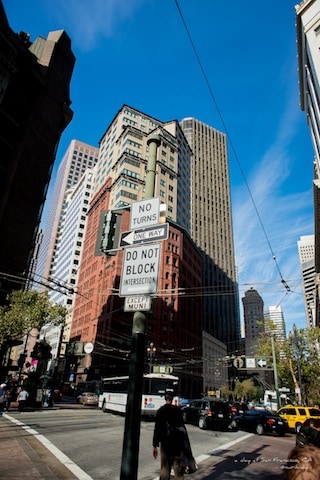
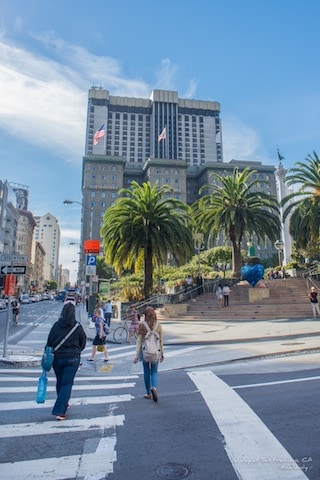


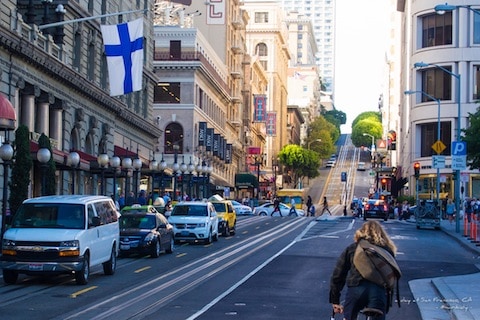
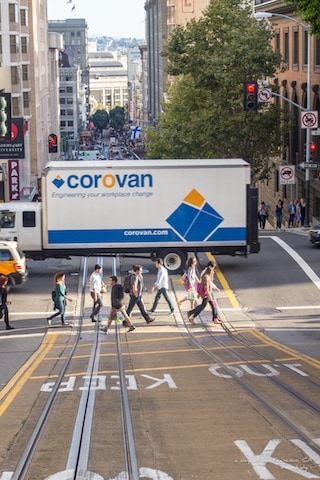
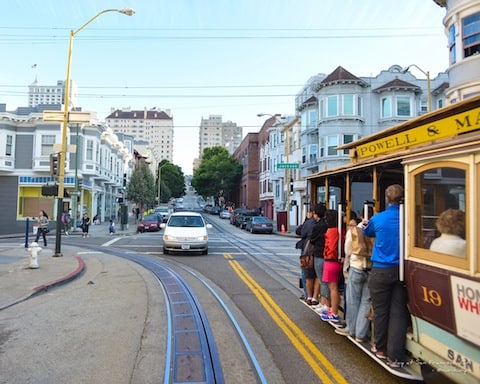
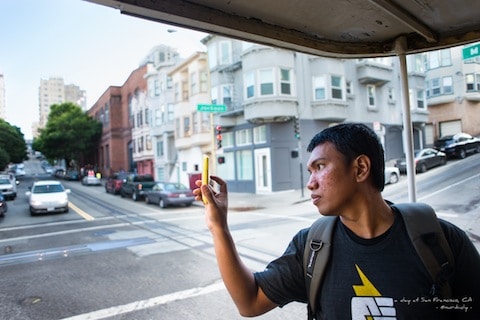
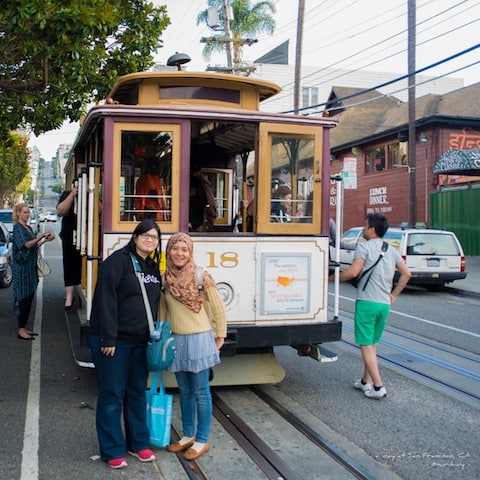
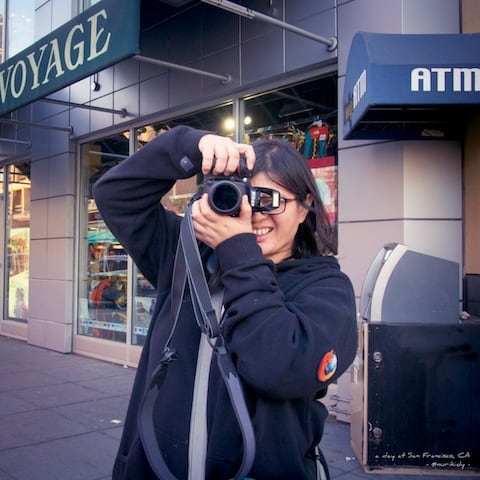


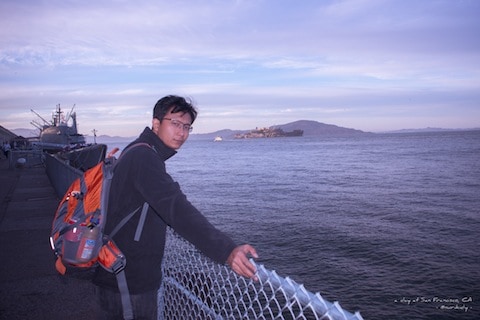


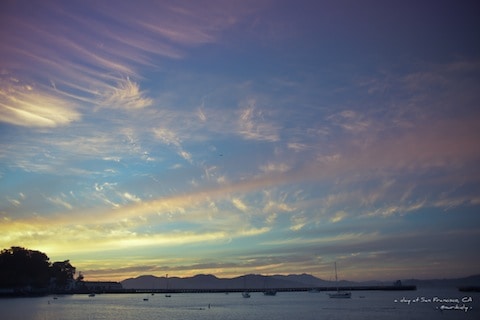


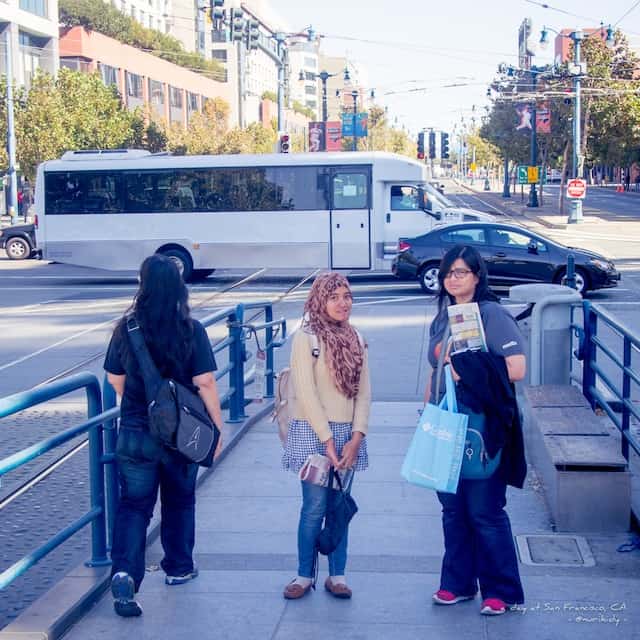
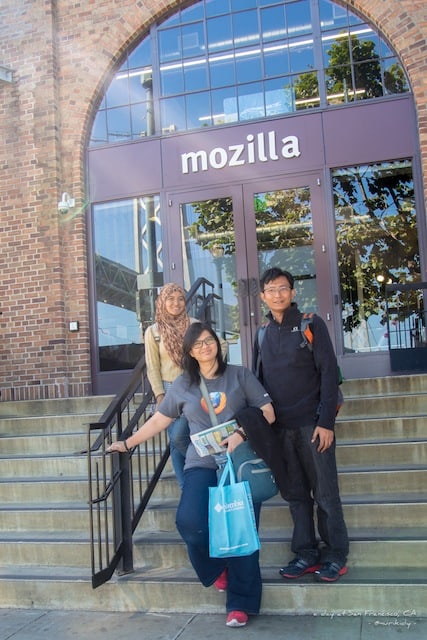
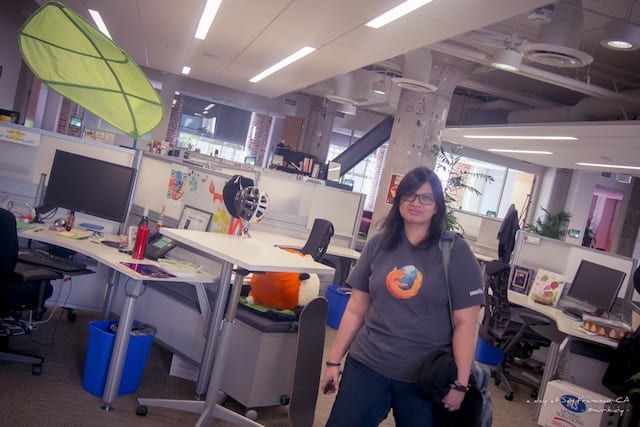
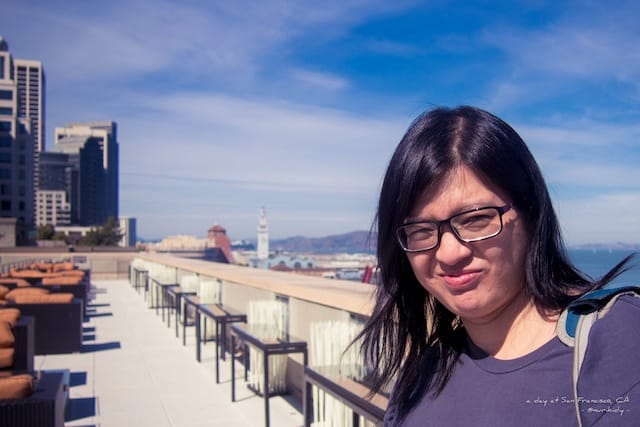
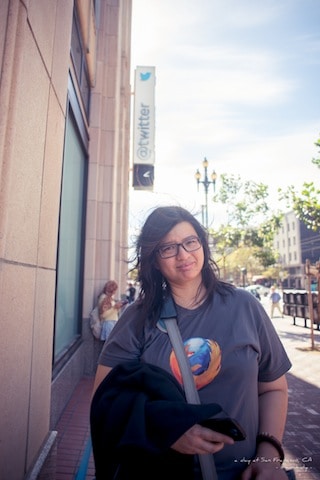
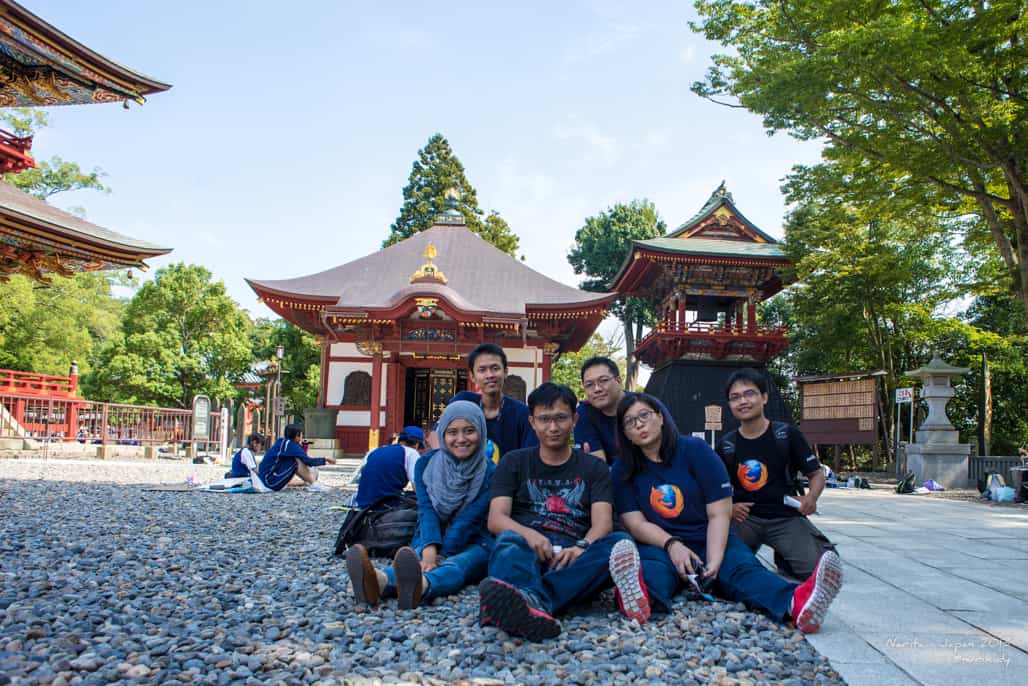
 7 Oct 2013, Summit over the night before. Most of us will fly back home, back to daily routine office, college, shool etc. Some will spend another day or two just for sight seeing. Let say, Jan from Holland going to surf at Santa Cruz, Ash’kary from Bangladesh have a road trip to east coast.